Nothing on a sewing machine is as diverse and interchangeable as a presser foot. This is the little instrument that presses against the fabric when sewing to make sure it is securely in place, together with a feed dog – an instrument with teeth or ridges on the bed (needle plate) of the machine. These ridges help move the fabric when sewing. Depending on what kind of fabric is used when sewing, the presser foot can be changed as there are a vast array of presser foot types. It does however warrant the presser foot its fair share of problems.

Table of Contents
Types of Presser Feet
There are three principle designs of presser feet.
- Low Shank (0.5 inches from bottom foot to center)
- High Shank (1 inch from bottom foot to center)
- Slant Shank (Distinctly slanted)
The given shank a machine requires cannot be changed. This is to say that a low shank sewing machine will only use a low shank presser foot. A high shank sewing machine will only use a low shank presser foot. And so on. A Slant shank foot can only be used on a Singer slant needle machine and that is that.
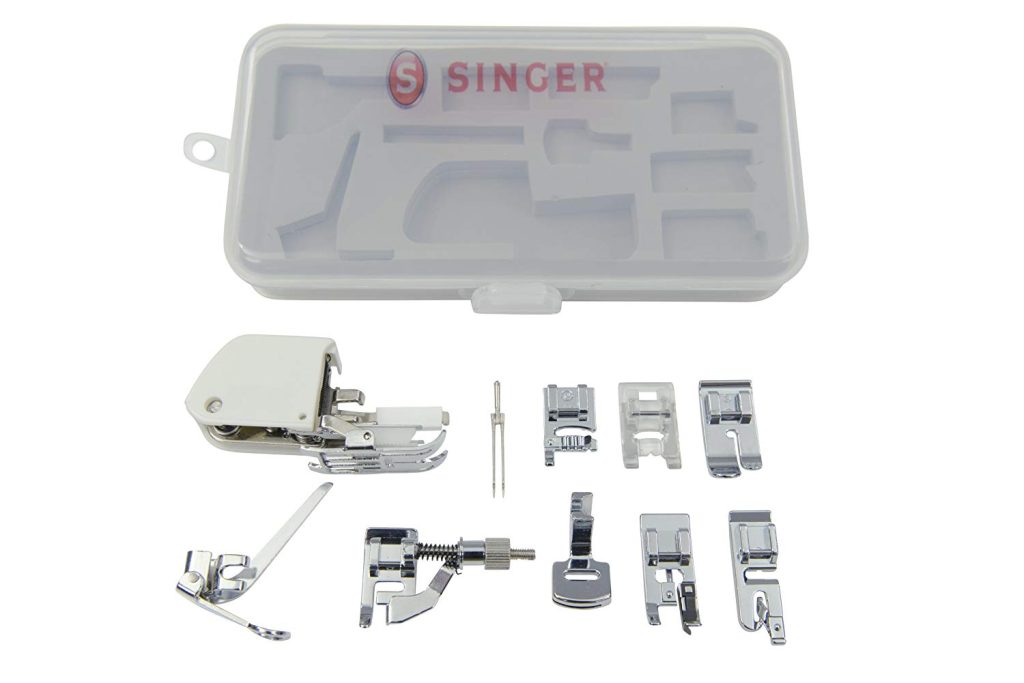
The most commonly used presser feet are the all-purpose foot and the zipper foot, which are standard with most household Singer sewing machines. Some examples of the wide range of presser feet are:
- Blind Hem Foot
- Button-attaching Foot
- Buttonhole Foot
- Darning Foot
- Fringe Foot
- Gathering Foot
- Invisible Zipper Foot
- Narrow Hem Foot (also called a Rolled Hem Foot)
- Open-Toe Foot
- Overedge/Overcast Foot
- Pintuck Foot (comes in different sizes measured in the number of grooves)
- Piping/ Cording Foot
- Quarter-inch Seam Foot (6mm)
- Quilting Quarter-inch Seam Foot
- Roller Foot
- Satin Stitch (Decorative Stitch) Foot
- Straight-stitch Foot
- Tape Attaching Foot (used for narrow ribbons, rick-rack, etc).
Most presser feet are made of steel or clear plastic; however, presser feet made of Teflon or other non-stick material are used for sewing with leather, plastic, vinyl and oilcloth.
1. Presser Foot Isn’t Lowering
This becomes a serious problem of the presser foot as it is the single most important instrument in the entire sewing process (this is where stitching takes place). The pressure from the presser is needed to keep the fabric in place, so if it isn’t lowered all the way down it may cause other Singer sewing machine problems like fabric puckering – which is when one layer of fabric is incidentally sewn onto another. Worst of all it’ll be hard to sewn in straight and consistent stitches and when joining two fabrics together it will be difficult to keep them lined up.
To solve this problem you would need to lower the presser foot tension. On the left side of your Singer sewing machine you will find a screw located on the presser bar. Use a screwdriver to release the presser foot. Turn the handwheel on your machine to lower the needle. When it’s at the right height, set the correct tension setting for presser foot and then screw the presser foot in its new position.
2. Wrong Tension Setting
When this setting is too high it causes problems for the sewing machine whereby your stitches become bunchy (or heaped up) and uneven. In contrast when it is too low, it causes the stitches to sway and produce a messy pattern. On most Singer sewing machines presser foot tension is controlled by a dial on top of the machine. But it can also be in the form of a knob or screw depending on the model and make. The presser foot tension setting is responsible for how much pressure is applied on the fabric. The higher it is, the tighter it presses down on the fabric. And vice versa.
Solving this problem is as easy as turning a dial, screw or a knob on your Singer sewing machine. These instruments usually have numbers, always try setting the middle numbers first.
Important: Presser Foot tension is not the same as thread Tension in that they each have a dial or knob where they can be individually adjusted. Presser Foot problems are straight forward whilst Thread Tension problems are more nuanced and complicated. They are not to be confused.
3. Wrong Presser Foot
As mentioned in the introduction no part on Singer sewing machines is as diverse and interchangeable as the presser foot. Every single iteration of presser foot is designed to solve a problem that a certain fabric or thread creates. Most Singer sewing machines come with several different presser feet types in their packaging.
It helps to check before purchasing a machine whether they come with specific types of presser feet or not. And whether or not they are compatible with your machine.
4. Removing/ Installing Presser Foot
This process is responsible for the creation of its own problems, it may be difficult for some Singer sewing machine users to safely and effectively remove or install the presser foot. Fortunately, every Singer sewing machine’s presser foot can be changed to cater to the sewer’s every need.
There’s a lever located on the upper back of a shaft (where the presser foot is attached), you can simply lift this lever and the shaft will release the presser foot.
Some Singer sewing machine’s presser feet however are not attached to a shaft or any other part. They can be removed with a simple pull, and re-installed with a just as simple push and snap it back into place.
Important: When replacing Singer sewing machine presser feet it is advised to make sure that the replacement is compatible with that make and model of the sewing machine you are using.
Always consult a Singer sewing machine manual before anything else.
The presser foot is a small part of Singer sewing machines but it is the most vital part of the machine. It needs to be lowered down a certain height with the perfect amount of tension so as to hold the fabric in place (nice and steady). You also need to use the right type of presser foot with all Singer instruction manual recommendations to achieve the best results with your machine when sewing.